
Search and Filter
How To Search For Nodes In NarrativeFlow
Section titled “How To Search For Nodes In NarrativeFlow”The Search and Filter tab in the Left Panel lets you search for Nodes that contain text that matches your search.
There are also a few settings you can toggle to change how a search is performed, enabling you to either refine or broaden your search, as well as filters to help you track down any Nodes you’re looking for.
Using The Search And Filter Tab
Section titled “Using The Search And Filter Tab”Let’s take a look at what each element of the Search and Filter tab does and how it works.
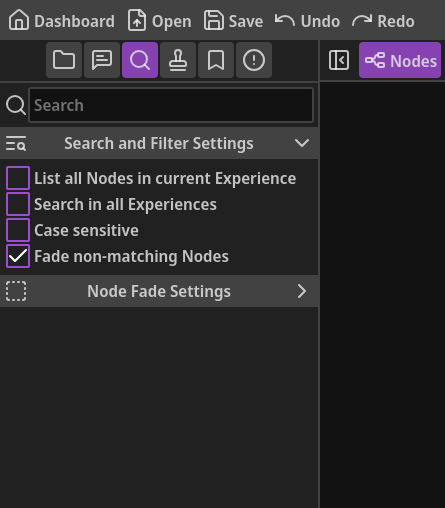
Search Field: This is where you type the text you want to search for.
Search and Filter Settings header: You can click this header to expand/collapse the Search and Filter settings.
List all Nodes in current Experience: Enabling this setting will override search matching and instead list every Node in the currently open Experience, regardless of whether they match the search field or not.
This can be useful to find a lost Node without any data entered into it yet.
Search in all Experiences: This setting allows you search for Nodes in all Experiences, not just the currently open one.
Case sensitive: By default, searches are case insensitive, meaning that a search for “William Shakespeare” will show results for Nodes that contain “william shakespeare”, “WILLIAM SHAKESPEARE”, “wiLLiAm sHakesPEArE”, etc.
If you want to search for Nodes that match the casing of your search exactly, enable this setting.
Fade non-matching nodes: When enabled, any Nodes that don’t match your search will be faded in the main workspace. This allows you to quickly find any matching Nodes just by looking for non-faded ones.
Node Fade Settings: Below the main settings, you’ll see a header labeled “Node Fade Settings” which is collapsed by default.
Opening that header will reveal a setting to fade each type of Node.
Checking any of these boxes will fade all Nodes of that type, regardless of whether they match the search or the “Fade non-matching Nodes” setting is checked or not.
This can help you clear visual noise quickly, allow you to only see narrative-content Nodes (like Dialog and Choice), or help you find a Node you’re looking for quicker.
Fading can help you know where Nodes of a specific type are located.
For example, let’s say you know you have a Conditional Node in your Experience, you don’t remember where though. Fading all except for Conditional Nodes helps you easily and quickly locate it.
You could also accomplish this by enabling the “List all Nodes in current Experience” setting and scrolling down to the Conditional Nodes header and clicking the Go To Node button on the right of the search result.
There are often multiple ways of accomplishing something in NarrativeFlow, so feel free to use whichever method is most intuitive to you.
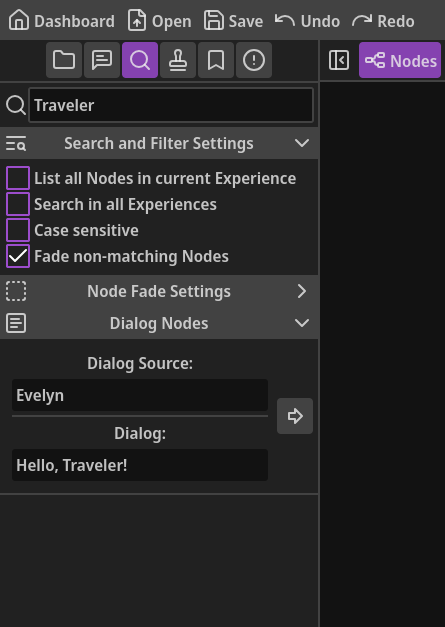
Search results grouped by Node type: When you search for something and results are listed, Nodes are grouped according to their type. You can click on a group’s/type’s header to collapse or expand it.
If no Nodes of a certain type match a search, that group/type header won’t be shown.
In other words, if you don’t see a specific group/type header, there are no Nodes of that type that match the search.
Go To Node button: If a Node matches a search, it will be listed in its respective group header and show a preview of its contents.
On the right of each Node/search result, you can click the “Go To Node” button, which will center the workspace view on that Node.
If a Node is in another Experience and matches the search, the name of its containing Experience will be listed in its preview. In addition, the Go To Node button will have a different icon.
When clicking the Go To Node button on a Node that’s in a different Experience, that Experience will be opened first, then the Node will be centered in the workspace view.