
Node Presets
When designing your narrative, you may find that you’re configuring Nodes in exactly the same way, or at least very similarly.
For example, when creating a Dialog Node for a specific character, you may find it quite redundant to enter the same character’s name in the dialog source field and fill in several Properties the same way every time.
That is a lot of wasted time doing something repetitive.
And this is where Node presets come in!
Node presets allow you to save a Node exactly as it’s currently configured and create a Node with that exact configuration anywhere in your project.
If that sounds confusing, think of it like a “template for Nodes”, a stamp, a stencil, a mold, a pattern, etc.
How To Create A Node Preset
Section titled “How To Create A Node Preset”Creating Node presets are very easy.
First, configure a Node exactly as you want your preset to be (with the exception of a Connector or Comment Node).
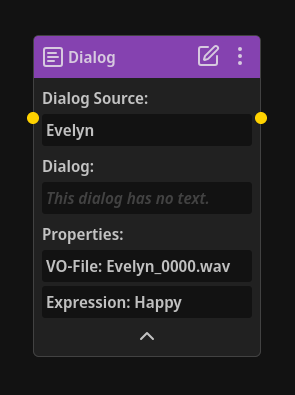
Using a Dialog Node as an example, fill in the dialog source attribute and any Properties or values you may want pre-configured.
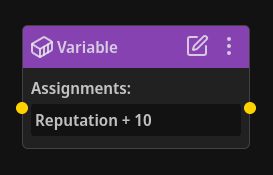
Or, for example, if you frequently need to modify a variable in your narrative, you could set up a Variable Node preset something like this:
Once your Node is configured, simply click the three-dot menu in the top right of the Node, then click “Create Preset”.
You’ll then be prompted to enter a name for your new preset.
After typing a name, click “Create”, and you now have a preset!
To see all of the preset you’ve created, modify them, or create a new Node from a preset, navigate to the “Node Presets” tab in the left panel.
TIP
Removing the Node you created a preset from won’t effect the preset in any way, and vice versa. They’re completely separated.
How To Use Node Presets
Section titled “How To Use Node Presets”Let’s talk about each element of the Node Presets tab and how to use presets.
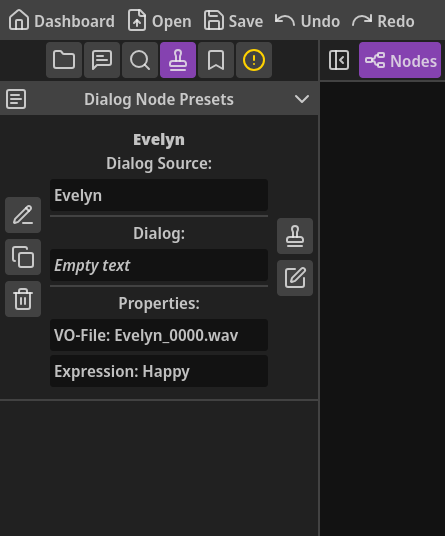
Preset type header: Node Presets are organized into groups based on their type. You can click on the header of a group to collapse or expand that group.
Preset name: At the top of each preset is the name you gave the it when creating it.
Preset content preview: Each preset has a preview of its content. When creating a new Node from a preset, this content will be copied into the new Node.
Rename preset: The top-most button on the left of each preset allows you to rename it.
Duplicate preset: If you want to create a variation of a preset, you can easily duplicate it with the middle button on the left, then modify the copy however you want.
Remove preset: The bottom button on the left of a preset will remove it (i.e. delete forever).
Create new Node from preset: Clicking the stamp button (the top button on the right of a preset) will create a new Node with the exact contents of the preset in the center of the main workspace view.
If no Experience is currently open, this button will be disabled.
Edit preset: If you want to modify a preset, the bottom button on the right will open the preset in the Node Editor, allowing you to modify it exactly like a regular Node.